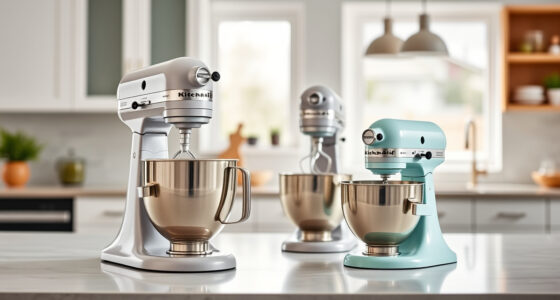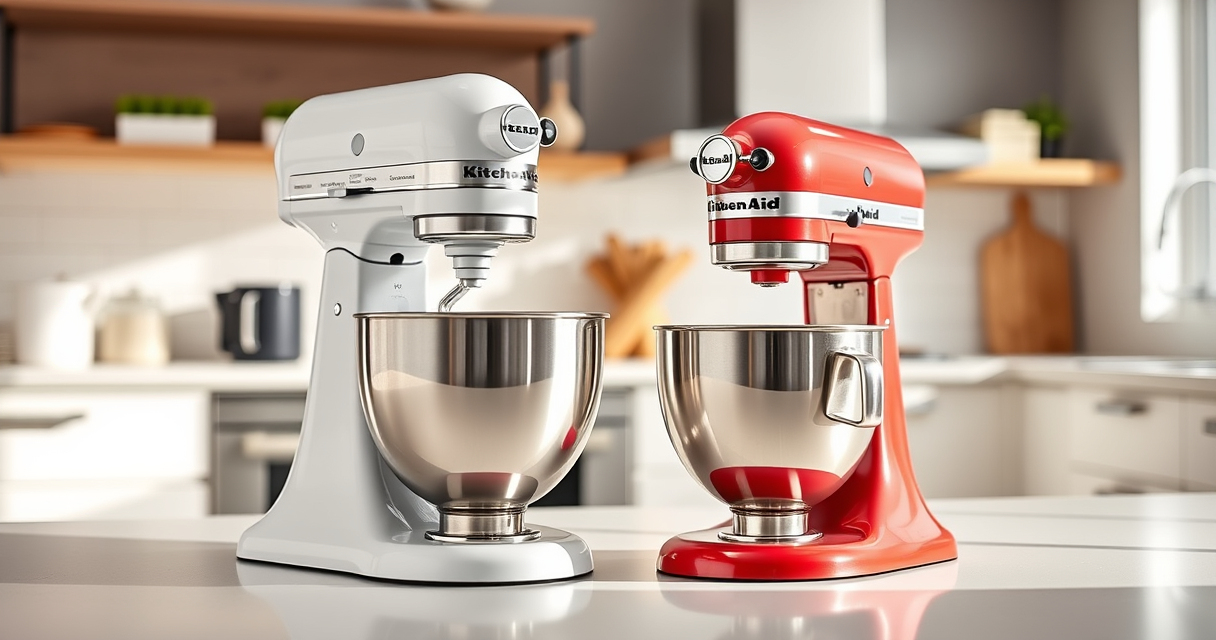

Keeping your KitchenAid Pro Line mixer clean is essential for optimal performance and longevity. Regular cleaning prevents buildup and ensures your appliance continues to operate smoothly. This guide provides practical, step-by-step instructions to clean your mixer safely and effectively, along with helpful tips and troubleshooting advice.

Get kitchen gear delivered free — and shop member deals
- Fast, free delivery on millions of items
- Access to Prime Big Deal Days deals on October 6–7
- Prime Video, Amazon Music and more included
Always prioritize safety by disconnecting your appliance before cleaning, and use appropriate cleaning tools to avoid damage.
Key Takeaways
| Safety First | Always unplug before cleaning to prevent accidents. |
| Use Proper Tools | Soft cloths and non-abrasive brushes prevent damage. |
| Regular Maintenance | Clean after every use to avoid buildup and corrosion. |
| Avoid Water Damage | Keep electrical parts dry and avoid submerging the motor. |
| Troubleshoot Effectively | Identify common issues to maintain peak performance. |
Preparation Before Cleaning
- Unplug your KitchenAid Pro Line mixer from the power outlet to ensure safety.
- Remove all detachable parts, including the beater, bowl, and any attachments.
Cleaning the Attachments
- Wash all removable parts, such as the stainless steel flat beater, with warm, soapy water.
- Use a soft brush or cloth to scrub away any stuck-on food or residue.
- Rinse thoroughly and dry completely before reattaching.
Cleaning the Mixer Base
- Wipe the exterior of the mixer with a damp, soft cloth. Avoid excessive moisture near electrical components.
- For stubborn spots, use a mild detergent solution and wipe clean with a damp cloth.
- Dry the surface with a soft towel to prevent water spots.
Maintaining Internal Components
Periodic internal cleaning isn’t usually necessary, but if your mixer shows signs of residue buildup, consult the manufacturer’s manual. Do not disassemble the motor or internal parts yourself.
Troubleshooting Common Issues
- If your mixer isn’t turning on, check the power cord and outlet.
- Unusual noises may indicate a need for professional servicing.
- Sticking or uneven mixing can often be resolved by cleaning or replacing the paddle.
The Products in This Guide

Stainless Steel Flat Beater
- ✔ Length: About 4.75 inches
- ✔ Material Type: Stainless Steel
- ✔ Dishwasher Safe: Yes

KitchenAid Stand Mixer Attachment
- ✔ Max Power: Use with KitchenAid motor
- ✔ Material: Metal
- ✔ Includes: Multiple plates
Stainless Steel Flat Beater
The stainless steel flat beater offers a robust, long-lasting solution for your KitchenAid 4.5-5 Qt tilt-head mixers. It’s dishwasher safe and resistant to bending or breaking under heavy-duty tasks, making it ideal for frequent use.
Pros:
- Heavy-duty durability
- Dishwasher safe
- Perfect fit for various models
- No paint chipping
Cons:
- Requires removal for cleaning
- Could be overkill for light tasks
Best for: Heavy-duty mixing, doughs, and batters
Not ideal for: Light mixing or delicate recipes
Bottom line: A reliable, heavy-duty paddle that withstands demanding kitchen tasks.
KitchenAid Stand Mixer Attachment
This metal food grinder attachment connects seamlessly to your KitchenAid stand mixer, enabling you to grind meats, vegetables, and more with precision. It’s ideal for those who want control over their ingredients and enjoy homemade food prep.
Pros:
- Multiple grinding plates
- Stainless steel components
- Easy to store
- Includes sausage stuffer tubes
Cons:
- Requires pre-chilling
- Cleaning can be time-consuming
Best for: Grinding fresh meats, vegetables, and making sausages
Not ideal for: Light kitchen tasks or infrequent use
Bottom line: A versatile attachment perfect for homemade ground foods.
Frequently Asked Questions
Can I submerge my KitchenAid mixer in water?
No, avoid submerging the mixer or its electrical components in water. Use a damp cloth for cleaning the exterior.
How often should I clean my mixer?
Clean your mixer after each use to prevent buildup and ensure smooth operation.
What should I do if my paddle is stuck?
Unplug the mixer and gently twist the paddle to remove it. If stuck, apply a small amount of lubricant or seek professional assistance.
Can I use abrasive cleaners on the stainless steel beater?
No, use soft cloths and mild detergents. Abrasive cleaners can scratch the surface.
Maintaining Your KitchenAid Pro Line for Long-Lasting Performance
Regular cleaning and proper maintenance are key to keeping your KitchenAid Pro Line mixer in top shape. By following the steps outlined above, you can ensure your appliance runs smoothly for years to come. Don’t forget to periodically inspect attachments and replace worn parts to prevent issues and preserve the quality of your culinary creations.
Affiliate disclosure: As an Amazon Associate we earn from qualifying purchases. Prices and availability are accurate as of the time of publishing.
Fall Picks
fall essentials
As an affiliate, we earn on qualifying purchases.