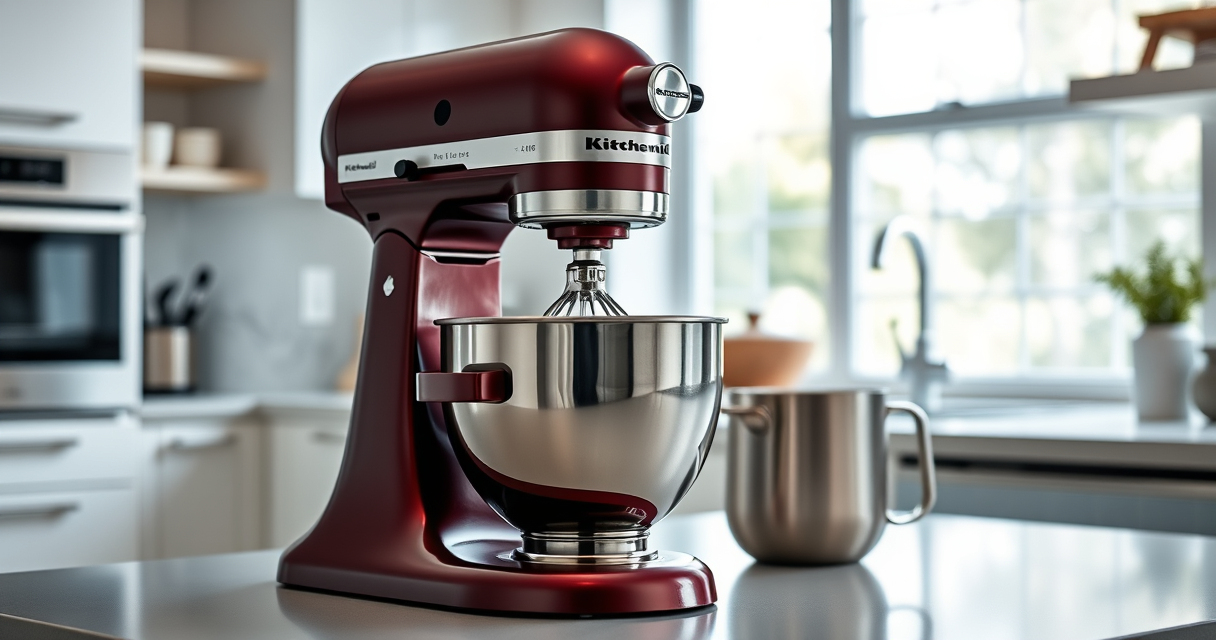

If your KitchenAid Artisan Series 5 Quart Tilt Head Stand Mixer is leaking oil, it can be concerning and messy. While this issue may seem serious, most leaks are fixable with some basic troubleshooting and maintenance. Properly addressing the problem ensures your mixer continues to perform well and extends its lifespan. In this guide, we’ll walk you through the essential steps to identify the cause of the oil leak, how to fix it safely, and tips to prevent future issues.

Get kitchen gear delivered free with Prime
- Fast, free delivery on millions of items
- Prime Video, Amazon Music and more included
- Member-only deals all year
Before starting, ensure your mixer is unplugged and has cooled down completely. Gather basic tools like screwdrivers, a clean cloth, and, if necessary, replacement parts. Safety is key, so proceed carefully and follow each step precisely to avoid damage or injury.
Key Takeaways
| Identify the source of the leak | Determine where the oil is coming from for effective troubleshooting. |
| Check the gear case | Leaking often originates from the gear case or oil seals. |
| Use proper tools and safety measures | Ensure safety and prevent damage during repair. |
| Replace faulty seals or gaskets | Worn or damaged seals are common causes of leaks. |
| Maintain your mixer regularly | Regular cleaning and inspections help prevent leaks. |
Identify the Source of the Oil Leak
The first step in fixing your leaking KitchenAid mixer is to pinpoint where the oil is escaping from. Common areas include the gear case, where the motor transmits power to the attachment hub, or seals around the drive shaft. To do this, carefully tilt the mixer head back and inspect the underside and the attachment hub area for any visible oil. Wipe away excess oil with a clean cloth to better see fresh leaks. If oil appears around the base or near the attachment port, it’s likely a seal issue. Remember, a small leak can become bigger over time, so early detection helps prevent more extensive repairs.
Unplug and Disassemble the Mixer
- Unplug the mixer from the power outlet to ensure safety.
- Remove the attachment (beater, whip, or dough hook).
- Lay the mixer on its side or back to access the gear case area.
- Unscrew and remove the tilt-head lock screw if present, then gently tilt the head back.
- Carefully remove the outer casing to expose the gear case and internal components, following your model’s manual for exact steps.
Disassembly allows you to inspect seals, gaskets, and oil levels directly. Take note of how parts are assembled or take photos for reference during reassembly.
Inspect and Replace Faulty Seals or Gaskets
The most common cause of oil leaks is worn or damaged seals inside the gear case. Check the oil seals around the drive shaft and other moving parts. If they appear cracked, brittle, or visibly worn, they need to be replaced. Use appropriate replacement seals designed for your mixer model. Clean the surrounding area thoroughly before installing new seals. If the oil level is low, refill it with the recommended lubricant specified in your user manual. Be cautious not to overfill, as excess oil can cause leaks or damage.
Reassemble and Test the Mixer
- Carefully reattach the casing, ensuring all screws and clips are secured firmly.
- Reinstall the attachment and tilt-head lock screw if removed.
- Plug in the mixer and run it at various speeds for a few minutes to check for leaks.
- Observe the gear case and attachment hub closely for any signs of oil escaping.
If no oil leaks are visible and the mixer functions properly, the repair was successful. If leaks persist, double-check the seals and reassemble carefully. Persistent leaks may require professional repair or replacement of internal components.
Tips and Warnings for Ongoing Maintenance
- Regularly inspect the gear case and seals for signs of wear or oil seepage.
- Keep the mixer clean and dry, especially around the attachment hub.
- Use only recommended lubricants and replace oil as instructed in your user manual.
- Avoid overloading the mixer, which can strain internal components and cause leaks.
- Seek professional repair if you’re uncomfortable with disassembly or if the leak persists after your repairs.
Proper maintenance and timely repairs can prevent future leaks and prolong your mixer’s life.
The Products in This Guide

KitchenAid Artisan Series 5 Quart Tilt Head Stand Mixer
- ✔ Model: KSM150PS
- ✔ Warranty: 1 year
- ✔ Included Accessories: Pouring shield, flat beater

KitchenAid Stand Mixer Attachment
- ✔ Model: KSMMGA
- ✔ Weight: 3 pounds
- ✔ Color: Silver
KitchenAid Artisan Series 5 Quart Tilt Head Stand Mixer
The KitchenAid Artisan Series 5 Quart Tilt Head Stand Mixer is built with durable metal construction and offers 10 speeds for nearly any task. Its tilt-head design provides easy access to the bowl, making ingredient addition simple. With over 20 color options, it combines style with functionality, ideal for both casual bakers and serious cooks.
Pros:
- Sturdy metal construction
- Easy tilt-head access
- Multiple speed settings
- Large 5-quart bowl
Cons:
- May leak oil if seals wear out
- Heavy and bulky to move
- Requires regular maintenance
Best for: Baking enthusiasts, large batch cooking, versatile kitchen use
Not ideal for: Small kitchens with limited space, users seeking lightweight mixers
Bottom line: A reliable, stylish mixer with a few maintenance considerations.
KitchenAid Stand Mixer Attachment
The KitchenAid Stand Mixer Food Grinder attachment transforms your stand mixer into a powerful food processor. It’s perfect for creating fresh ground meats, vegetables, and more, expanding your culinary options with ease.
Pros:
- Sturdy metal construction
- Multiple grinding plates
- Easy to attach and use
- Includes sausage stuffer tubes
Cons:
- Requires separate purchase
- Cleaning can be tedious
- Bulkier attachments may require storage space
Best for: Home butchering, making sausage, grinding fresh ingredients
Not ideal for: Small kitchens without storage space, occasional users
Bottom line: A high-quality accessory that adds serious grinding power.
Frequently Asked Questions
Can I fix my KitchenAid mixer myself if it’s leaking oil?
Yes, if you’re comfortable with basic disassembly and inspection, you can replace seals or gaskets yourself. However, for complex internal repairs, professional service is recommended.
Is oil leakage normal in a KitchenAid mixer?
Some minor seepage can occur over time, especially if seals wear out. Regular maintenance and inspections help prevent significant leaks.
What type of oil should I use to refill my mixer?
Use the lubricant specified in your user manual, typically a food-grade silicone or similar safe oil designed for machinery.
How often should I inspect my mixer for leaks?
Check your mixer every few months, especially if you notice any changes in operation or unusual noises.
When should I replace the seals or get professional repair?
If seals are visibly damaged or if the leak persists despite your efforts, it’s best to seek professional repair to avoid further damage.
Keep Your KitchenAid Mixer Running Smoothly
Dealing with oil leaks in your KitchenAid stand mixer doesn’t have to be daunting. By carefully inspecting, replacing worn seals, and performing regular maintenance, you can keep your mixer functioning optimally for years to come. Always prioritize safety, and don’t hesitate to seek professional help if needed. With proper care, your versatile KitchenAid mixer will continue to be a reliable kitchen companion for all your baking and cooking adventures.
Affiliate disclosure: As an Amazon Associate we earn from qualifying purchases. Prices and availability are accurate as of the time of publishing.
Fall Picks
fall essentials
As an affiliate, we earn on qualifying purchases.