To make a cast iron skillet pizza on the grill or oven, start by preparing a flavorful dough with yeast, warm water, and flour, then let it rest until doubled. Assemble your toppings—sauce, cheese, and favorites—distribute evenly, and preheat your skillet and heat source. Cook until the crust is crispy and cheese melts beautifully. Keep experimenting with techniques for perfect results—more tips await to help you master this delicious recipe.
Key Takeaways
- Prepare a balanced pizza dough with yeast, flour, salt, and rest until doubled for optimal fermentation.
- Spread sauce and cheese evenly in a thin layer on the dough, adding toppings carefully for even cooking.
- Preheat your grill or oven to 450°F (230°C), and use a cast iron skillet directly on heat for crisp crust.
- Bake until the crust is golden and cheese is bubbly, rotating on the grill for even heat distribution.
- Rest the pizza a few minutes after baking, then slice and serve for best texture and flavor.
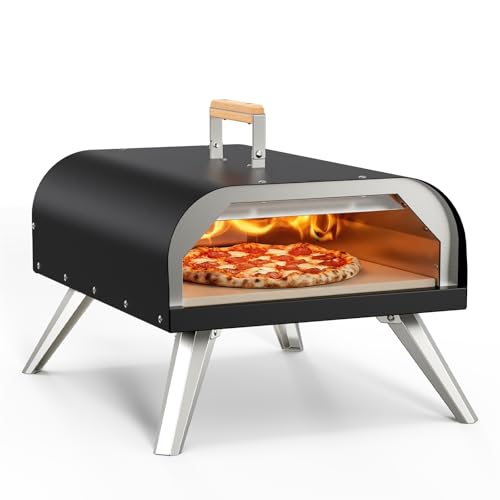
WOOCIT 12" Multi-Fuel Outdoor Pizza Oven – Reaches 720°F, Versatile Wood or Propane Pizza Oven with Pizza Stone & Peel, Portable for Backyard, Camping & Tailgating (Propane Burner Sold Separately)
Long Flame Covers Full Stone: This outdoor pizza oven features a powerful long flame that covers the entire...
As an affiliate, we earn on qualifying purchases.
Preparing the Perfect Pizza Dough
To make the perfect pizza dough, start by combining warm water, yeast, and a pinch of sugar in a bowl. This kicks off dough fermentation, which activates the yeast and begins the rising process. As you mix, the yeast feeds on the sugar, producing carbon dioxide that creates air pockets, helping your dough expand. Once the mixture is bubbly, add flour and salt, then knead thoroughly. During kneading, gluten development occurs, giving your dough its elasticity and strength. Proper gluten formation ensures a chewy yet tender crust. Let the dough rest in a warm spot until it doubles in size, allowing fermentation and gluten structure to develop fully. This step is vital for achieving a light, airy texture in your cast iron skillet pizza.

Solo Stove Pi Prime Pizza Oven Outdoor - Gas,Propane - Portable Pizza Oven with Cordierite Stone Cooking Surface - Demi-Dome Design - Wide-Mouthed Opening - Stainless Steel
FAST PREHEAT - With its efficient demi-dome design, the Solo Stove Pi Prime Pizza Oven preheats in just...
As an affiliate, we earn on qualifying purchases.
Assembling Your Custom Pizza Toppings
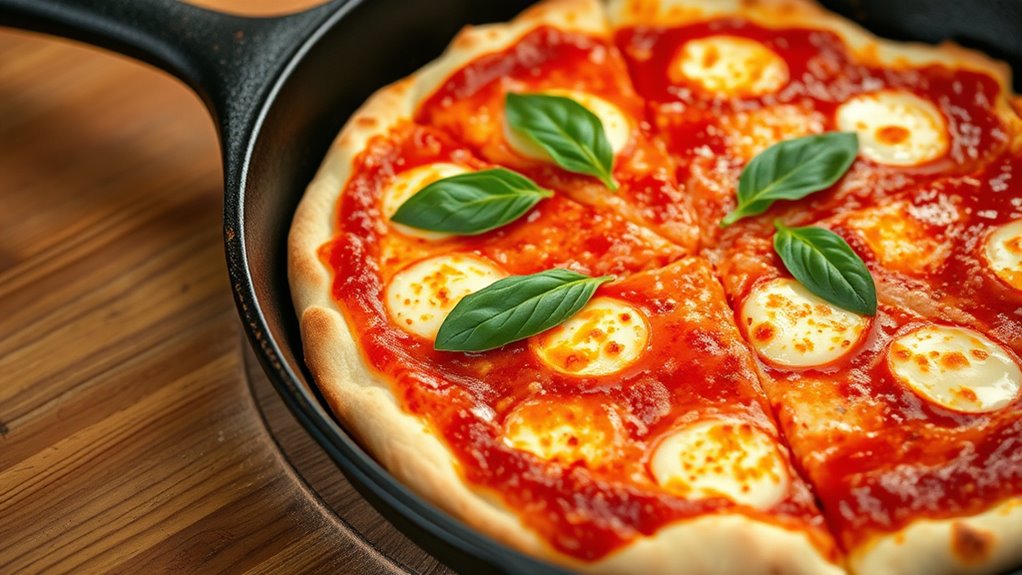
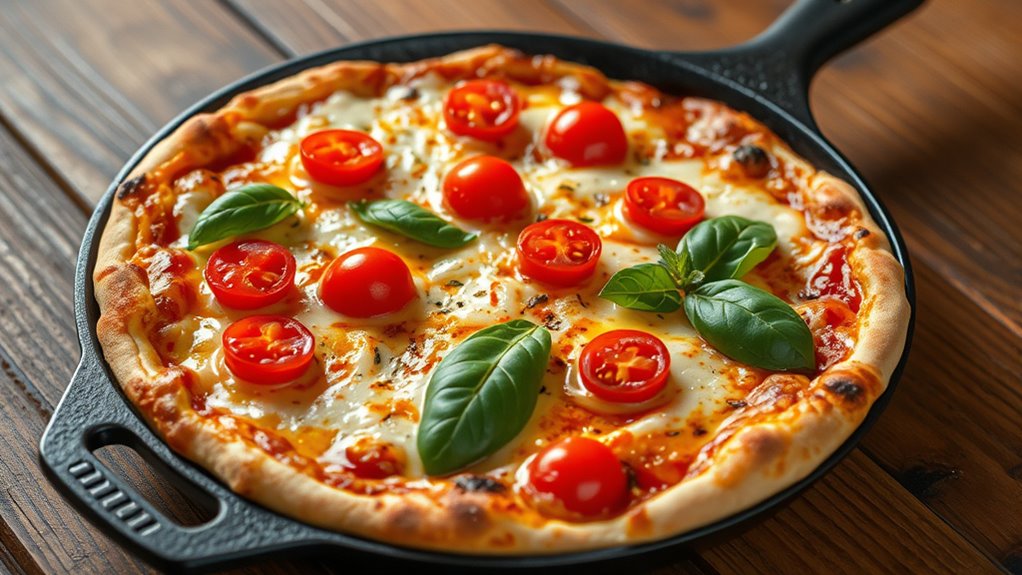
Once you’ve prepared your pizza dough, it’s time to assemble your toppings to create a flavorful, personalized pie. Start by spreading a layer of pizza sauce evenly over the dough, leaving a small border around the edges. Next, choose your cheese varieties—mozzarella is classic, but feel free to add ricotta, Parmesan, or feta for extra flavor. Distribute the cheese evenly, then add your favorite toppings like pepperoni, vegetables, or herbs. Keep in mind that less is often more; too many toppings can make the pizza soggy. Aim for a balanced distribution to ensure each bite is delicious. Once assembled, gently press the toppings into the sauce and cheese to help them stay in place during cooking.

BIG HORN Gas Pizza Oven, Portable Propane Pizza Oven with 15 inch Pizza Stone, Stainless Steel Pizza Maker for Outdoor Cooking
【Dual Side Burner】Powered by dual-side burners (23,000 BTU), this gas pizza oven heats up to 750°F in 10...
As an affiliate, we earn on qualifying purchases.
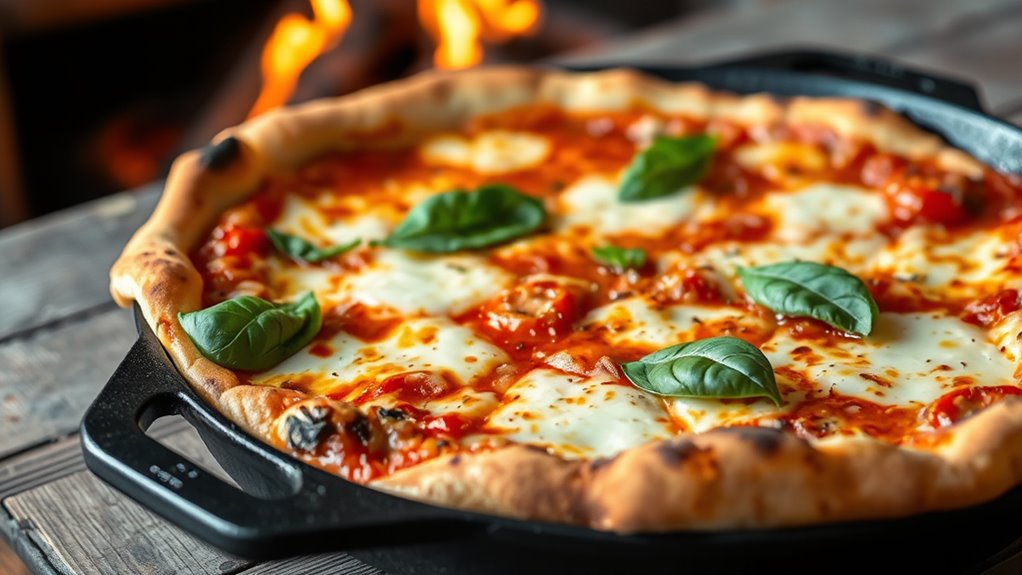
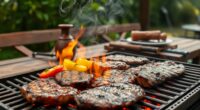
Cooking Your Pizza on the Grill or Oven
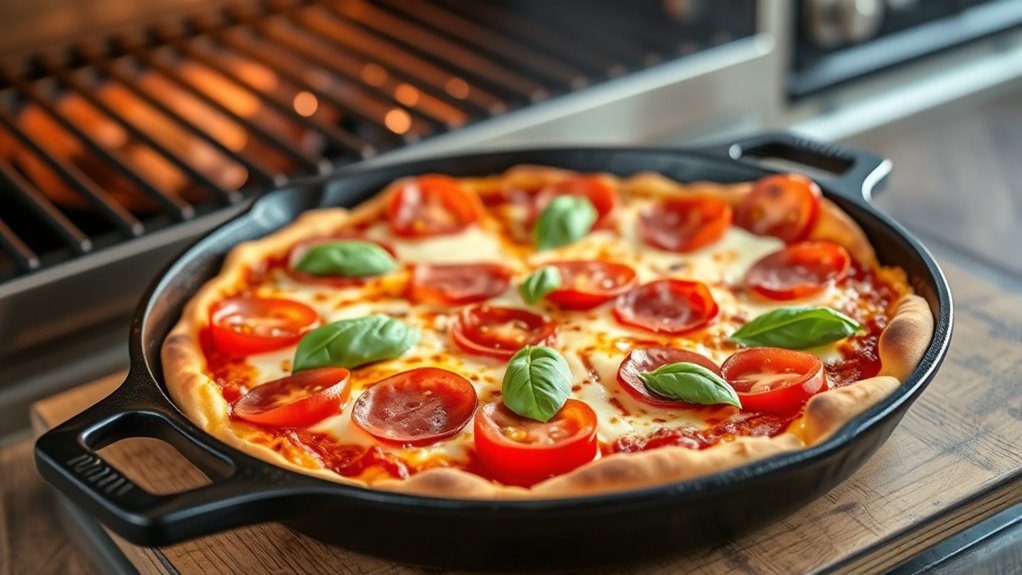
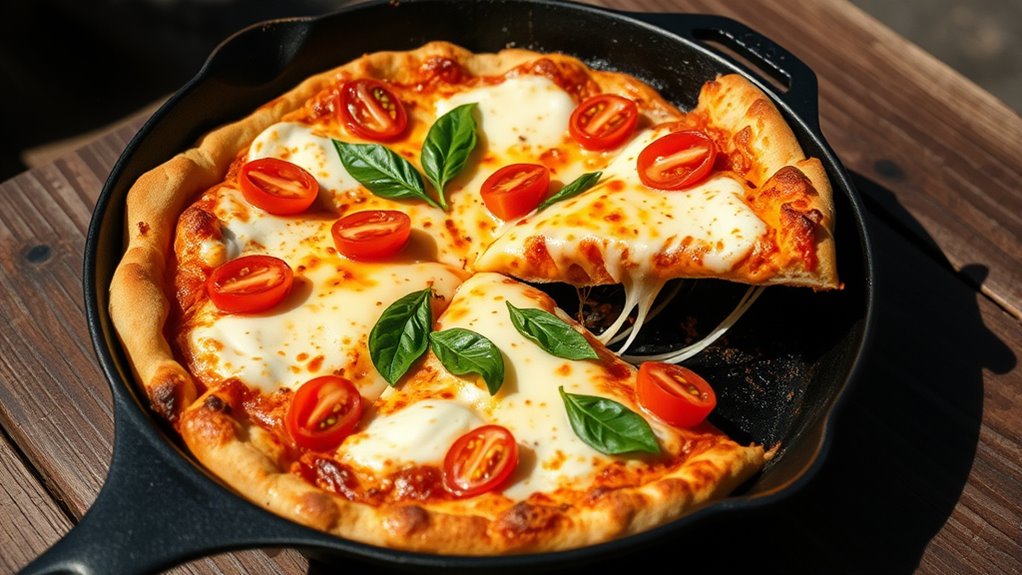
After assembling your toppings, it’s time to bring your pizza to life through cooking. If you’re using a grill, preheat it to medium-high heat and place your cast iron skillet directly on the grates. For oven cooking, preheat to 450°F (230°C). Spread a layer of pizza sauce over the dough, then sprinkle your cheese varieties evenly—think mozzarella, provolone, or parmesan. Keep a close eye on your pizza, whether on the grill or in the oven, as cooking times can vary. The goal is a bubbly, golden crust with melted cheese. If using the grill, rotate the skillet as needed for even cooking. In the oven, bake until the cheese is melted and slightly browned. Enjoy the aroma and anticipation of a perfect homemade pizza.
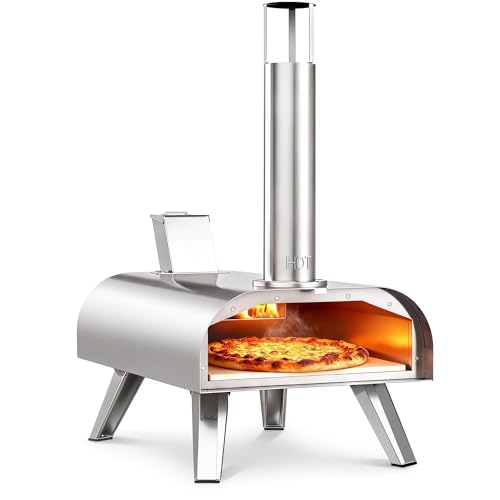
BIG HORN 12" Multi-Fuel Outdoor Pizza Oven Reach up to 1110℉– 3-in-1 Wood,Gas&Electric Compatible(Burners Sold Separately),Pellet Pizza Oven Portable Pizza Maker for Backyard,Camping&Tailgating,Silver
【Premium & Safe Stainless Steel】Outdoor pizza oven is constructed with high-quality stainless steel. This sturdy and compact oven...
As an affiliate, we earn on qualifying purchases.
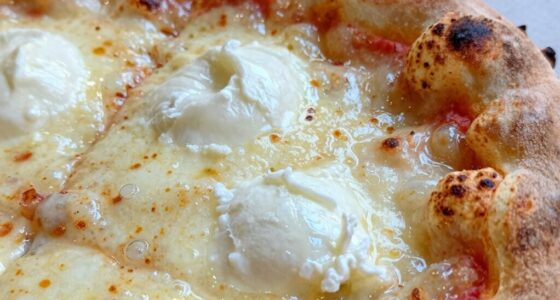
Tips for Achieving a Crispy Crust and Melty Cheese
Achieving a crispy crust and perfectly melted cheese hinges on specific techniques that enhance texture and flavor. First, pay attention to dough thickness—aim for a thin, even layer to ensure crispiness without burning. A thinner crust allows heat to penetrate quickly, creating that desirable crunch. For cheese meltiness, choose a cheese with good melting qualities, like mozzarella, and spread it evenly over the dough. To boost cheese meltiness, add a small drizzle of olive oil or a sprinkle of grated cheese on top before baking. Preheating your skillet ensures immediate contact with high heat, promoting crispiness from the start. Don’t overload with toppings; too much can lead to a soggy crust. Proper dough thickness and cheese placement are key to achieving that perfect balance.
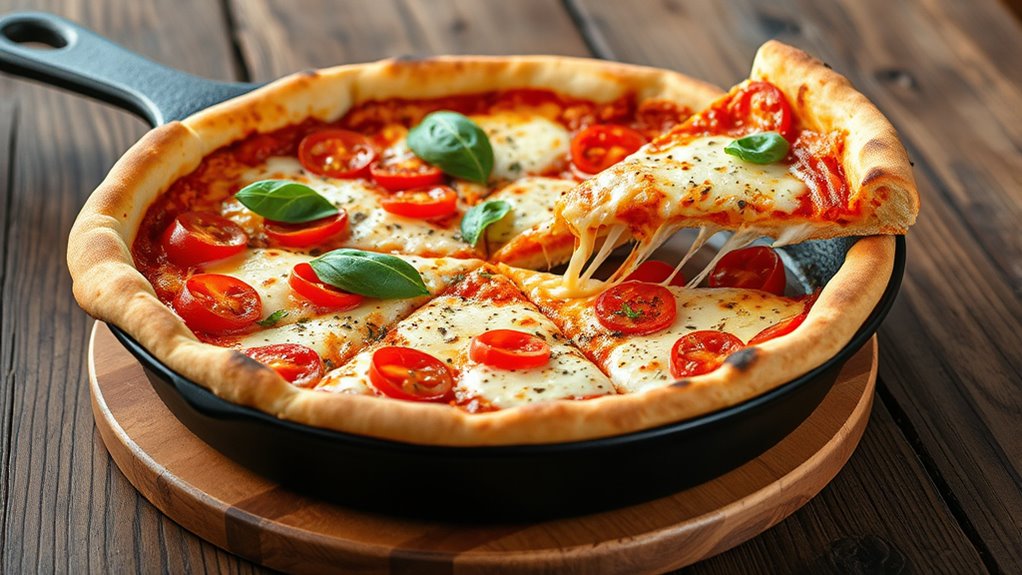
Serving and Enjoying Your Cast Iron Skillet Pizza
To enjoy your cast iron skillet pizza at its best, let it rest for a few minutes after baking. This helps the crust set and makes slicing easier. For an appealing pizza presentation, cut your pizza into even slices and serve directly from the skillet or on a platter. To keep leftovers fresh, store pizza in an airtight container or wrap it tightly with plastic wrap. Reheat in the oven or skillet to maintain crispiness. Use the table below for quick tips on serving and storage:
| Serving Tips | Storage Tips |
|---|---|
| Slice pizza evenly for better presentation | Store leftovers in airtight containers |
| Let pizza rest before slicing | Wrap individual slices for easy reheating |
| Serve on a wooden board or platter | Reheat in oven or skillet for crispness |
| Garnish with fresh herbs or toppings | Consume within 2-3 days for best quality |
Frequently Asked Questions
Can I Make Gluten-Free Cast Iron Skillet Pizza?
Yes, you can make gluten-free cast iron skillet pizza. Use a gluten-free crust made from flour alternatives like almond flour, cauliflower, or gluten-free baking mixes. Prepare the crust as you would with regular dough, then add your favorite toppings. Bake it in your cast iron skillet on the grill or oven. This way, you get a delicious, crispy gluten-free pizza tailored to your dietary needs.
How Long Does Homemade Pizza Dough Last in the Fridge?
You can store homemade pizza dough in the fridge for up to 3 to 5 days. For ideal dough storage, keep it in an airtight container or wrap it tightly with plastic wrap to prevent drying out. Be sure to refrigerate promptly after making the dough. When you’re ready to use it, check for any signs of spoilage like an off smell or mold before proceeding with your cast iron skillet pizza.
What’s the Best Way to Clean a Cast Iron Skillet After Pizza?
A clean skillet is a happy skillet, so you should rinse it with hot water immediately after pizza. Use a soft brush or sponge to remove food bits, avoiding soap that can strip seasoning. For stubborn residue, scrub with coarse salt—it’s great for seasoning maintenance and rust removal. Dry thoroughly to prevent rust, then lightly oil the surface. This keeps your skillet in top shape for future delicious pizzas.
Can I Prepare and Assemble Pizza Ahead of Time?
Yes, you can prepare and assemble your pizza ahead of time. Use make ahead preparation by pre-slicing ingredients and assembling your pizza on a parchment-lined surface. Keep it refrigerated until you’re ready to cook. For best results, use assembly tips like spreading the sauce evenly and adding cheese last. When ready, transfer the pizza to your cast iron skillet and cook promptly to enjoy a fresh-tasting pizza.
How Do I Prevent Toppings From Sliding off During Baking?
To prevent toppings from sliding off during baking, focus on topping adhesion and cheese distribution. Press toppings firmly into the dough, ensuring they’re well-set before baking. Spread cheese evenly over the toppings to act as a glue, holding everything in place. Avoid overloading your pizza, which can cause sliding. By securing toppings and maintaining even cheese distribution, you’ll keep everything intact and achieve a delicious, well-structured pizza.
Conclusion
Don’t worry if you think making pizza isn’t your thing—this cast iron skillet recipe is forgiving and easy to customize. Even if you’re new to pizza-making, you’ll love how quickly it comes together and how delicious it turns out. Imagine biting into a perfectly crispy crust topped with melty cheese and fresh toppings, all made right in your own backyard or kitchen. Once you try it, you’ll wonder why you didn’t start sooner!