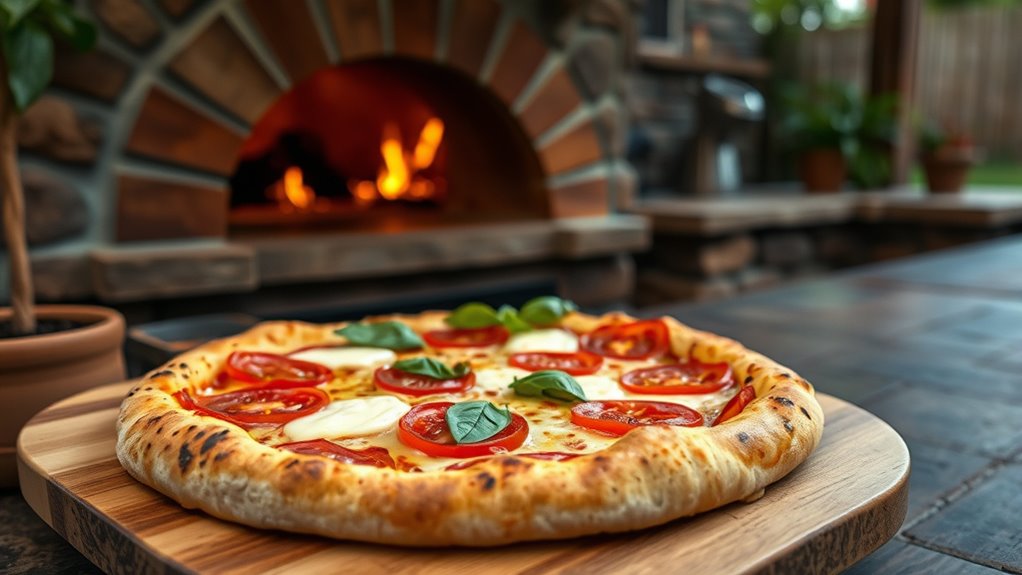

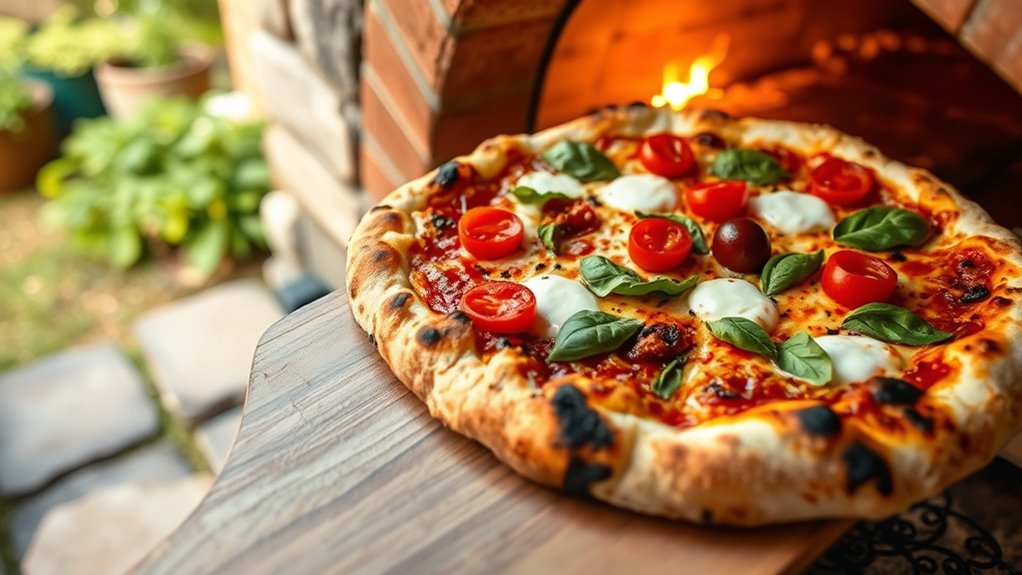
To make great sourdough pizza in your backyard oven, start with an active, bubbly starter and choose high-quality flour to develop flavor. Mix and knead your dough smoothly, then let it ferment for several hours to deepen the taste. Shape the dough carefully, preheat your oven to at least 500°F with a stone or steel, and bake until crispy and golden. Keep practicing, and you’ll perfect your technique to achieve bakery-quality results with each bake.
Key Takeaways
- Prepare an active, bubbly sourdough starter and ensure proper fermentation for flavorful, well-leavened pizza dough.
- Use high-quality flour and optimal hydration (60-70%) for elasticity and a good crust.
- Preheat a backyard oven with a pizza stone or steel to at least 500°F for even, crispy baking.
- Shape the dough carefully, avoid overloading toppings, and bake until crust is golden and bubbly.
- Maintain oven insulation and steady fire management for consistent high-temperature baking.

Hans Grill Rectangular Pizza Stone, 15 x 12 Inch Cordierite Stone with Peel
- Material: Toughened porous cordierite stone
- Heat Resistance: Up to 1112°F (600°C)
- Versatile Use: For pizza, pies, bread, and more
As an affiliate, we earn on qualifying purchases.
As an affiliate, we earn on qualifying purchases.
Gathering and Preparing Your Sourdough Starter

Before you can make delicious sourdough pizza, you need to gather and prepare your sourdough starter. Understanding sourdough microbiology helps you appreciate the natural yeasts and bacteria working together during fermentation. To start, mix equal parts flour and water, creating a simple environment for the wild yeasts to thrive. Keep track of fermentation timing—usually, your starter will show bubbles and a tangy aroma after 5 to 7 days of regular feedings. Patience is key, as a healthy starter develops complex flavors and strong leavening power. Consistent feeding schedules and proper temperature control help maintain active yeast and bacteria populations. Once your starter is bubbly and doubles in size within hours of feeding, it’s ready to use for your sourdough pizza dough.
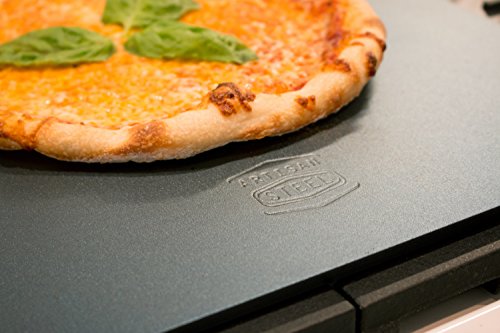
Artisan Steel – High Performance Pizza Steel Made in the USA – 16" x 14.25" (.25" Thick)
- High Conductivity: Ultra-conductive for fast, blistered crusts
- Easy Food Release: Low friction surface for easy sliding
- Durable Construction: Heavy-duty steel resists breaking at high temperatures
As an affiliate, we earn on qualifying purchases.
As an affiliate, we earn on qualifying purchases.
Selecting the Right Flour and Ingredients for Your Dough
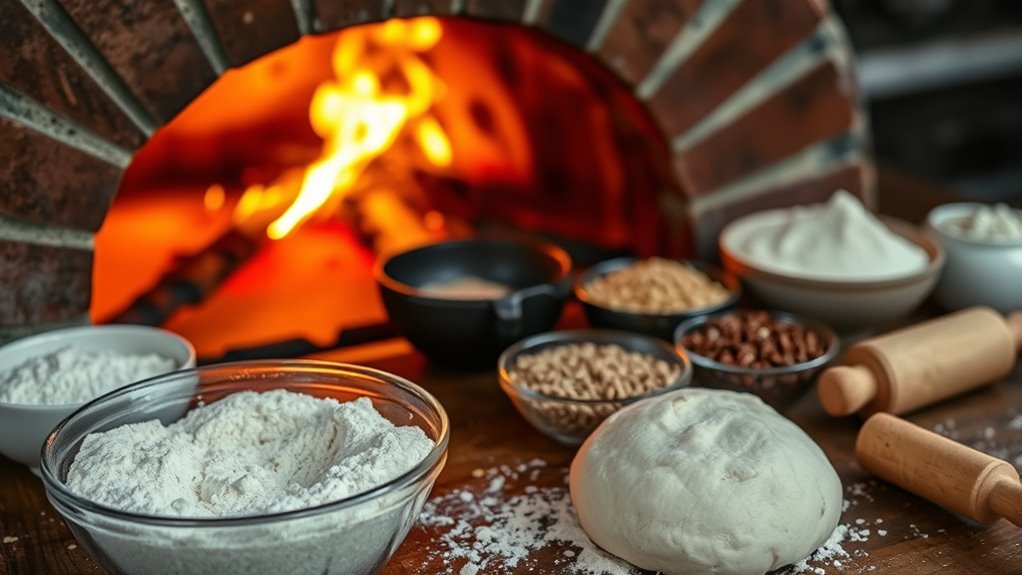
Choosing the right flour and ingredients is key to perfecting your sourdough pizza. You’ll want to contemplate different flour types and their qualities, as well as how hydration ratios and water impact your dough. Don’t forget to think about additives and enhancers that can improve texture and flavor.
Flour Types and Qualities
The type and quality of flour you select play a crucial role in shaping your sourdough pizza dough’s texture and flavor. Different grain varieties, like hard wheat or soft wheat, influence gluten development and dough elasticity. Hard wheat, with higher protein content, creates a chewier crust, while soft wheat results in a tender crumb. Flour processing also matters; stone-ground flours retain more nutrients and flavor, offering richer taste, whereas highly refined flours produce a cleaner, more neutral dough. Consider choosing unbleached, whole-grain, or bread flours based on your desired outcome. The right combination of grain variety and processing method ensures your dough has the ideal structure and flavor profile, setting the foundation for a delicious sourdough pizza baked in your backyard oven.
Hydration Ratios and Water
Selecting the right hydration ratio is essential for achieving the ideal dough consistency and crust texture in your sourdough pizza. The hydration ratio, which is the percentage of water relative to flour, directly influences dough elasticity and crumb structure. A typical range is 60-70%, but adjust based on your flour type and environmental factors. Water temperature also plays a key role; warmer water speeds fermentation, while cooler water slows it down, affecting rise and flavor. Using slightly warmer water can help activate your sourdough starter more effectively, especially in colder conditions. Be precise with measurements, and test different hydration levels to find what produces the best stretchability and crust. Proper hydration and water temperature are crucial for a well-formed, flavorful dough.
Additives and Enhancers
Using the right flour and ingredients can make or break your sourdough pizza dough, so it’s essential to choose options that complement your fermentation process and desired crust. Natural preservatives, like salt and certain acids, help extend freshness without artificial additives, ensuring your dough stays flavorful and stable. Flavor enhancers, such as a touch of honey or malt, can boost fermentation and deepen taste. Be cautious with additives—while they can improve shelf life and flavor, they shouldn’t overpower your natural ingredients. Focus on high-quality flours, like unbleached or whole grain, that contain natural enzymes and nutrients. Selecting the right combination of ingredients allows your dough to develop better structure, taste, and aroma—making your backyard pizza truly exceptional.

Gino Bambino Sourdough Pizza Starter Kit, Hand Stretched Stone Baked, 3 Crusts with Sauce, 45.72 oz
- Hand-stretched stone-baked crusts: Authentic flavor with 72-hour fermentation
- Includes 3 crusts and 3 sauces: Easy pizza preparation with premium ingredients
- Total weight 45.72 oz: Makes multiple family-sized pizzas
As an affiliate, we earn on qualifying purchases.
As an affiliate, we earn on qualifying purchases.
Mixing and Kneading Your Pizza Dough

Mixing and kneading your pizza dough are essential steps that determine the final texture and flavor of your crust. Proper mixing guarantees all ingredients, especially your sourdough starter, are evenly incorporated. As you knead, focus on kneading techniques that develop gluten structure, giving your dough elasticity and strength. Keep fermentation timing in mind: under-kneaded dough may not ferment properly, leading to dense crusts, while over-kneading can make it tough. Aim for a smooth, slightly tacky dough that holds its shape. Use your hands or a mixer with a dough hook to knead until the dough is elastic and passes the windowpane test. This process creates a well-developed gluten network that results in a light, airy, and flavorful sourdough pizza crust.

My Pizza: The Easy No-Knead Way to Make Spectacular Pizza at Home: A Cookbook
As an affiliate, we earn on qualifying purchases.
As an affiliate, we earn on qualifying purchases.
Allowing Your Dough to Properly Ferment and Rise

Once you’ve kneaded your dough to develop a strong gluten network, the next step is to let it ferment and rise. Proper fermentation timing is essential for flavor development and dough structure. During dough proofing, you’ll notice it doubles in size, indicating it’s ready for the next step. Keep the dough in a warm, draft-free spot to encourage steady fermentation. Depending on your schedule, proofing can take anywhere from 4 to 12 hours—a longer fermentation enhances sourdough complexity. Here are some tips for ideal dough proofing:
- Use a lightly oiled bowl to prevent sticking
- Cover with a damp towel or plastic wrap to maintain humidity
- Check periodically for the right rise, not over-proofing
Shaping and Preparing Your Pizza Base

After your dough has finished fermenting and doubled in size, it’s time to shape your pizza base. Gently punch it down to release excess gas, then transfer it to a floured surface. To achieve the right crust thickness, press and stretch the dough with your fingertips, maintaining dough elasticity. Use a rolling pin or your hands to shape it into your desired size and form. Be careful not to overwork the dough, as this can make the crust tough. For consistency, refer to the table below to choose your crust style:
| Crust Style | Thickness | Ideal for |
|---|---|---|
| Thin Crust | Thin | Crispy, quick bake |
| Classic | Medium | Balanced texture |
| Deep-Dish | Thick | Hearty, stuffed |
| Neapolitan | Thin | Authentic flavor |
| Sicilian | Thick | Focaccia-like |
Building and Maintaining Your Backyard Oven
Building a backyard oven requires careful planning and attention to detail to guarantee it functions effectively. You’ll want to consider how it fits into your garden landscaping, ensuring it complements your outdoor space. Proper maintenance is essential for longevity; regularly clean out ashes and inspect for cracks or damage. To keep your oven in top shape, incorporate outdoor lighting around the area for safe nighttime use and ambiance.
- Use durable, heat-resistant materials suited for outdoor conditions
- Design a stable foundation that can support the oven’s weight
- Plan for proper ventilation and easy access for maintenance and fuel loading
Taking these steps ensures your backyard oven remains reliable and enjoyable for years to come, making outdoor cooking both safe and fun.
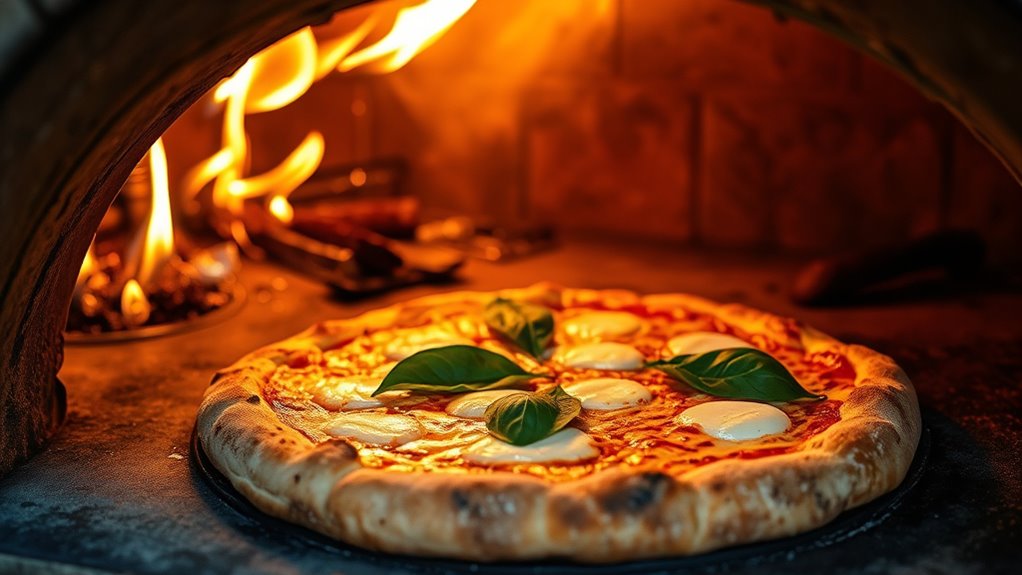
Achieving the Perfect Oven Temperature for Baking

Reaching the ideal oven temperature is essential for baking perfect sourdough pizza. Proper oven insulation helps maintain consistent heat, reducing temperature swings and ensuring even baking. To achieve this, check your oven’s insulation layers and add more if needed, especially around the fire chamber. Fire management is equally important; control your fire’s size and burn rate to reach the desired temperature quickly without excessive fluctuations. Use a reliable infrared thermometer to monitor the oven’s surface temperature regularly. Maintain a steady fire to sustain the heat, and adjust your fuel supply as necessary. Remember, patience is key—allow the oven to warm thoroughly before baking, and make small adjustments rather than large changes to keep the temperature stable.
Assembling and Topping Your Sourdough Pizza

Now, it’s time to assemble your pizza by spreading the dough evenly and choosing the right toppings. Focus on selecting flavors that complement each other and don’t overload the crust. Proper spacing guarantees your pizza cooks evenly and looks as good as it tastes.
Choosing the Perfect Toppings
Choosing the right toppings can elevate your sourdough pizza from good to unforgettable. Focus on balancing flavors and textures to create a memorable bite. Fresh herbs like basil or oregano add brightness, while exotic cheeses such as taleggio or gorgonzola bring depth and richness. Be mindful not to overload your pizza, so toppings remain vibrant and well-balanced. Consider complementing savory ingredients with a touch of sweetness, like caramelized onions or fig jam. Using high-quality ingredients makes a noticeable difference in flavor. Remember, the best toppings highlight your dough’s tang and crust, creating harmony in every slice. With the right combination, your backyard pizza will impress everyone and keep them coming back for more.
Properly Spreading the Dough
To guarantee your sourdough pizza bakes evenly and looks appetizing, spreading the dough properly is essential. Start by gently pressing from the center outward, allowing the dough’s natural elasticity to stretch without tearing. Use your fingertips to evenly distribute the dough, avoiding thick spots that can cause uneven cooking. Maintaining consistent pressure helps preserve dough elasticity, ensuring it stays pliable. When adding toppings, do so lightly and evenly, which promotes better topping adhesion and prevents sogginess. Be careful not to overload the pizza, as too much topping can make spreading difficult and hinder proper baking. Take your time to shape the dough smoothly and uniformly, creating a solid base for toppings. Proper spreading results in a well-cooked, delicious sourdough pizza with an appealing appearance.
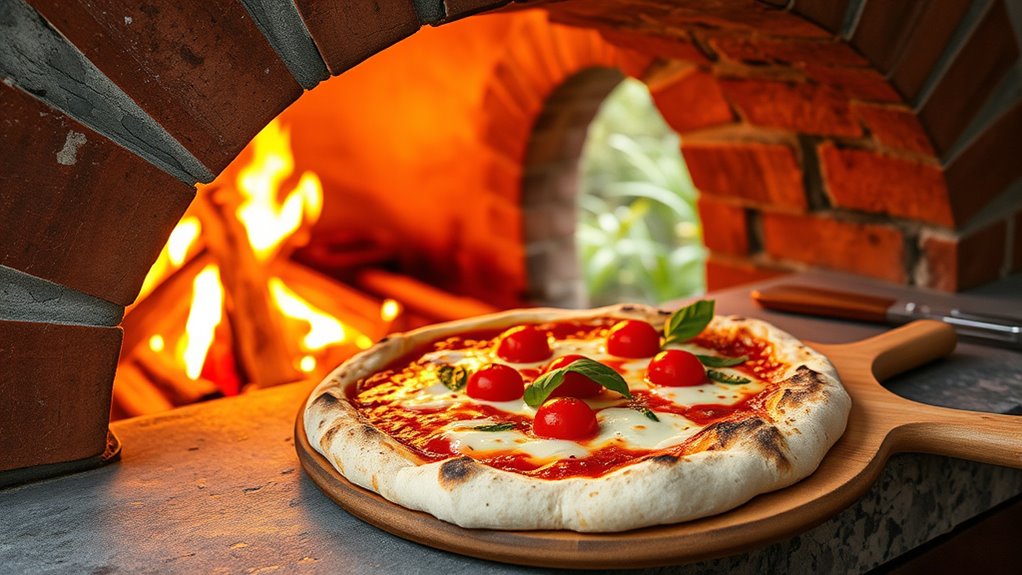
Baking Your Pizza for Crispy, Tangy Perfection
Achieving that perfect crispy crust with a tangy flavor hinges on how you bake your sourdough pizza. Proper baking enhances dough fermentation and flavor development, giving your pizza that authentic taste. To get there, focus on preheating your backyard oven thoroughly—aim for high heat to crisp the crust without burning. Use a pizza stone or steel to simulate a professional oven’s heat, which helps with even baking. Keep an eye on your pizza’s position; placing it closer to the heat source speeds up crispiness. Ultimately, don’t forget to rotate the pizza during baking for uniform results.
- Preheat your oven and stone to at least 500°F
- Use a pizza peel for easy transfer and adjustments
- Bake until the crust is golden and bubbly
Tips for Maintaining Your Sourdough and Oven for Future Bakes
Maintaining your sourdough starter and backyard oven guarantees consistent, high-quality bakes over time. To do this, prioritize sourdough hygiene by regularly feeding and discarding excess starter and storing it in a clean container. Keep your oven well-insulated to maintain stable temperatures and prevent heat loss. Consistent oven insulation ensures excellent baking conditions and prolongs oven life.
| Sourdough Hygiene | Oven Maintenance |
|---|---|
| Feed regularly | Check insulation integrity |
| Use clean utensils | Seal any gaps |
| Store properly | Cover when not in use |
| Avoid contamination | Clean ash and debris |
| Monitor activity | Maintain temperature |
Frequently Asked Questions
How Long Does It Take to Fully Develop a Sourdough Starter?
It usually takes about 5 to 7 days to fully develop a sourdough starter. During this fermentation timeline, you’ll notice bubbles forming and a tangy aroma indicating starter maturity. You should feed it regularly, usually daily, to encourage healthy fermentation. By the end of this period, your starter will be active, bubbly,, and ready for baking. Patience is key for creating a strong, reliable sourdough base.
Can I Use Alternative Flours for My Sourdough Pizza Dough?
Yes, you can use alternative flours for your sourdough pizza dough. Keep in mind, gluten content varies; some flours like spelt or einkorn have less gluten, affecting dough elasticity. However, they offer unique nutritional benefits, like added vitamins and minerals. You might need to adjust hydration or fermentation times to get the best rise and texture, but experimenting with different flours can enhance flavor and nutrition.
What Are the Best Wood Types for Backyard Oven Burning?
Did you know that hardwoods burn longer and produce less creosote? For your backyard oven, choose oak, hickory, or maple—they’re excellent wood selection options. They generate consistent, high heat essential for perfect pizza. Proper fire management involves maintaining a steady fire with these woods, avoiding softwoods like pine that produce more soot. This guarantees even cooking and keeps your oven cleaner, helping you achieve that authentic, delicious crust every time.
How Can I Prevent My Sourdough Pizza From Sticking?
To prevent your sourdough pizza from sticking, start by flour dusting your work surface and dough to create a barrier. Lightly oil the pizza peel or baking surface before placing the dough to reduce sticking. As you slide the pizza into the oven, make certain the dough is well-floured and not too wet. Regularly check for stickiness and adjust flour or oil as needed to keep everything sliding smoothly.
What Adjustments Are Needed for High-Altitude Baking?
Baking at high altitude is like climbing a mountain—you need to adapt your approach. To succeed, modify altitude adjustments by reducing yeast or sourdough starter slightly, as leavening rises faster. You might also increase oven temperature or shorten baking time. Substituting a bit of yeast with sourdough can help control rise and texture. These tweaks ensure your pizza crust remains perfect despite the thinner air.
Conclusion
With patience and practice, your backyard oven will become a trusty co-pilot in crafting sourdough pizza. Just like nurturing a garden, tending to your starter and oven requires care, but the reward—crispy, tangy slices—makes it all worthwhile. Remember, every bake is a step closer to mastering your craft, turning your backyard into a pizzeria. Soon, your friends will think you’ve brought Italy home, one delicious slice at a time.