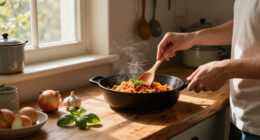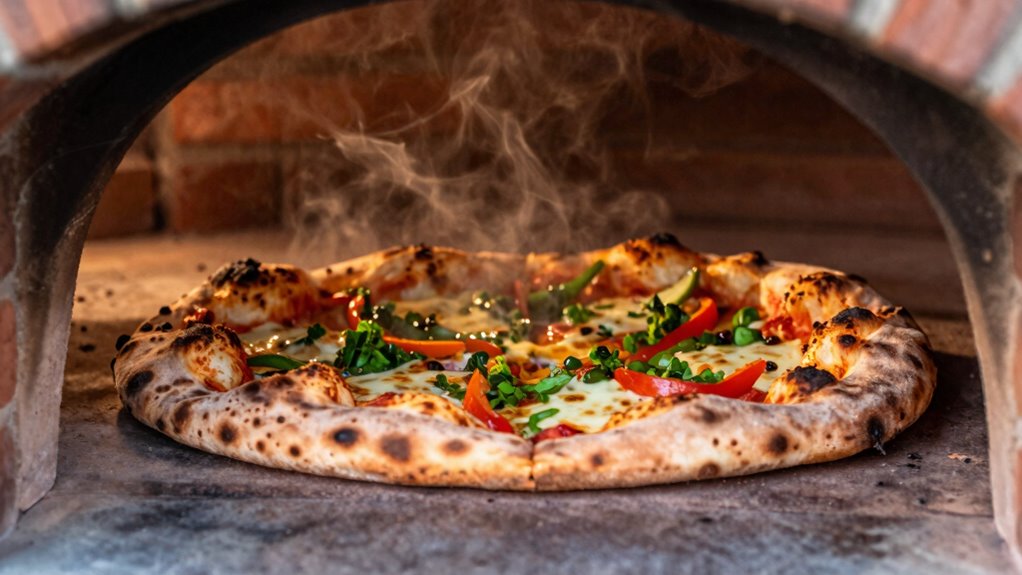
You can impress your guests by baking homemade bread bowls in your pizza oven, adding a unique and delicious twist to your backyard gatherings. Start with well-prepared, kneaded dough and shape it into sturdy bowls with deep wells for fillings. Bake at about 450°F until golden and hollow-sounding, then fill with cheeses, vegetables, or meats. Maintaining the right oven temperature and fresh baking techniques will guarantee crispy crusts and perfect results every time. Keep exploring for more tips!

Get kitchen gear delivered free — and shop member deals
- Fast, free delivery on millions of items
- Access to Prime Big Deal Days deals on October 6–7
- Prime Video, Amazon Music and more included
Key Takeaways
- Properly prepare and knead dough for sturdy, elastic bread bowls that hold fillings well.
- Shape dough into deep wells and pinch edges to prevent collapsing during baking.
- Preheat your pizza oven to 450°F for a crispy crust and evenly cooked interior.
- Bake until golden brown and hollow-sounding, ensuring perfect texture and flavor.
- Fill with toppings like cheese, vegetables, or meats for a delicious backyard twist.
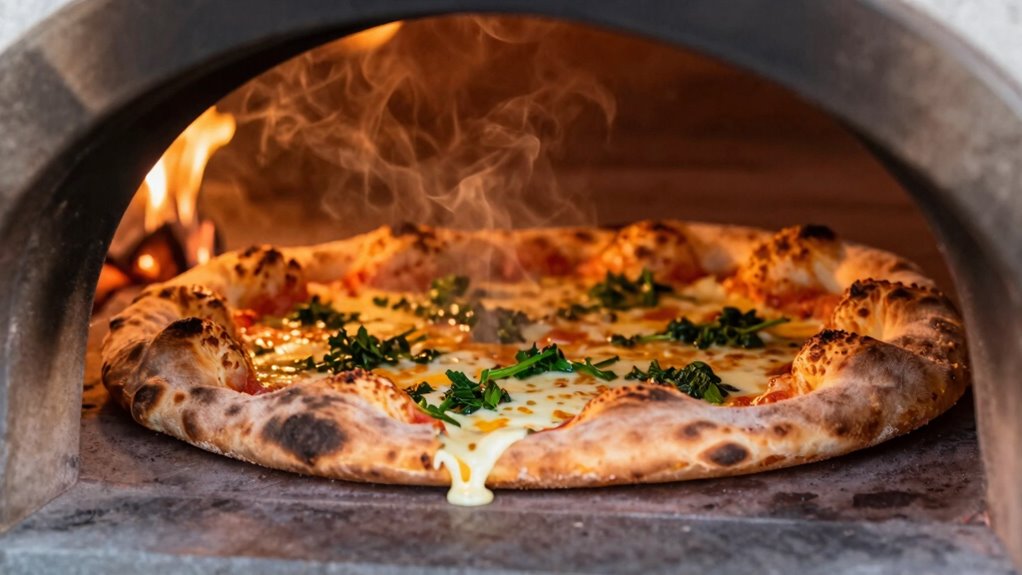
If you love pizza and enjoy creative ways to serve your favorite ingredients, then pizza oven bread bowls are an excellent choice. These bowls add a fun, rustic touch to your backyard gatherings while allowing you to serve hearty, personalized dishes. To get started, you need to focus on dough preparation. The key is to make a dough that’s sturdy enough to hold fillings but tender enough to bite through easily. You’ll want to use a good balance of flour, water, yeast, salt, and a bit of olive oil. Mix everything well, kneading until the dough develops a smooth, elastic texture. This guarantees it’s pliable enough to shape into bowls while maintaining enough strength for oven baking. Let your dough rise in a warm, draft-free spot until it doubles in size—this step is vital for developing flavor and structure. Proper dough development ensures your bread bowls will be both sturdy and tender. Additionally, using the right storage methods can help keep your dough fresh and prevent it from drying out before baking. Incorporating energy-efficient appliances or smart kitchen tools can also streamline your baking process, saving time and energy.
Once your dough is ready, shaping the bread bowls is straightforward. Divide the dough into equal portions, then shape each into a round ball. Using your fingers, create a deep well in the center of each ball to form the bowl. Be sure to pinch the edges firmly to keep the shape during baking. This process helps achieve a sturdy crust that won’t collapse when filled with toppings or sauces. When placing the dough balls in the oven, it’s important to preheat your pizza oven to the right oven temperature—generally, around 450°F (232°C). A hot oven ensures the bread develops a crisp crust quickly, sealing in moisture and flavor. Keep an eye on your bread bowls as they bake; they should turn golden brown within 15-20 minutes.
During baking, maintaining the correct oven temperature is essential. Too hot, and the crust might burn before the inside is cooked through; too cool, and the bread may turn out dense or pale. Use an oven thermometer if needed, so you can monitor the heat accurately. As the bread bowls bake, you’ll notice a beautiful aroma filling your backyard. When they’re golden and sound hollow when tapped on the bottom, it’s time to take them out. Let them cool slightly before slicing open and filling with your favorite toppings—think cheesy sauces, roasted vegetables, or hearty meats. The result is a delicious, portable meal that’s both satisfying and visually appealing. With the right dough preparation and oven temperature control, your backyard pizza oven bread bowls will become a new favorite for family and friends alike. Proper appliance maintenance can also help ensure your oven performs at its best during these baking sessions. For optimal results, understanding the contrast ratio of your oven or oven setup can help you achieve the perfect crust and texture. Keeping your oven clean and well-calibrated can further enhance your baking performance and consistency.
pizza oven bread bowl baking kit
As an affiliate, we earn on qualifying purchases.
As an affiliate, we earn on qualifying purchases.
Frequently Asked Questions
Can Bread Bowls Be Made Gluten-Free?
Yes, you can make bread bowls gluten-free by using gluten-free alternatives like rice or almond flour. You’ll want to carefully choose ingredients to avoid cross-contamination concerns, especially if you’re highly sensitive or have celiac disease. Keep in mind that gluten-free bread may have a different texture and rise, but with the right recipe and precautions, you can enjoy delicious, safe bread bowls in your backyard.
How Long Do Bread Bowls Stay Fresh?
You can expect bread bowls to stay fresh for about 1 to 2 days at room temperature when properly stored. For ideal bread preservation and to maintain freshness tips, wrap them tightly in plastic or foil and keep them in a bread box or airtight container. If you want longer shelf life, consider freezing them; just reheat thoroughly before serving. Always check for mold or staleness before eating.
What Are Alternative Fillings for Bread Bowls?
You can fill bread bowls with a universe of creative options that will blow your mind! Think hearty chili, creamy clam chowder, or savory vegetable stew for classic flavor pairing ideas. For something different, try cheesy spinach dip, spicy curry, or even breakfast fillings like scrambled eggs and bacon. These creative filling options turn ordinary bread bowls into show-stopping dishes, making every bite an explosion of flavor.
Can Bread Bowls Be Reheated Safely?
Yes, you can reheat bread bowls safely if you store them properly. First, make sure the bread bowls are cooled completely and stored in an airtight container or wrapped tightly in plastic wrap. For reheating, use techniques like oven reheating at 350°F for about 10 minutes or microwave them in short intervals until warm. These reheating techniques help preserve texture and flavor while keeping your bread bowls safe to enjoy.
How Do I Prevent Bread From Becoming Soggy?
Did you know that a thicker crust can help prevent sogginess? To keep bread from becoming soggy, focus on your crust thickness and baking techniques. Use a slightly lower oven temperature to guarantee the crust firms up before the inside gets wet. Also, preheat your bread bowls thoroughly, and avoid cutting into them immediately—allowing them to cool slightly helps maintain that crisp exterior and prevents sogginess.
As an affiliate, we earn on qualifying purchases.
Conclusion
So, next time you fire up your pizza oven, don’t just stop at pizza—dive into the world of bread bowls and take your backyard feast to legendary heights! Imagine serving up a steaming, cheesy, bread bowl masterpiece that’ll make your friends gasp in awe. Trust me, once you try this, your backyard will become the stuff of pizza legend. Get ready to wow everyone and turn your cookout into an epic flavor explosion!
As an affiliate, we earn on qualifying purchases.
As an affiliate, we earn on qualifying purchases.
Fall Picks
fall essentials
As an affiliate, we earn on qualifying purchases.


![Dove Mangiare A Milano: Le Nuove Aperture [In Aggiornamento]](https://backyardoven.com/wp-content/uploads/2026/09/dove-mangiare-a-milano-le-nuove-aperture-in-aggiornamento-featured-260x140.jpg)